Nutty Pie Crust

Nutty Pie Crust. Not too long ago. I bought a pie from a close-by farm made from fresh fruits grown there. After returning home, I baked the pie. Furthermore, I love the aroma of freshly baked goods especially with a crispy crust and juicy center. Not only that, my son loves the fruity center which he focused on. Therefore, I bought a pie mold that I was very excited to attempt homemade pies.

Nutty Pie Crust

Ingredients

  • 2 1/3 cup almond flour

  • 2 eggs

  • 4 tbsp. vegan butter

Directions

  • Firstly, preheat the oven to 350 degrees F.
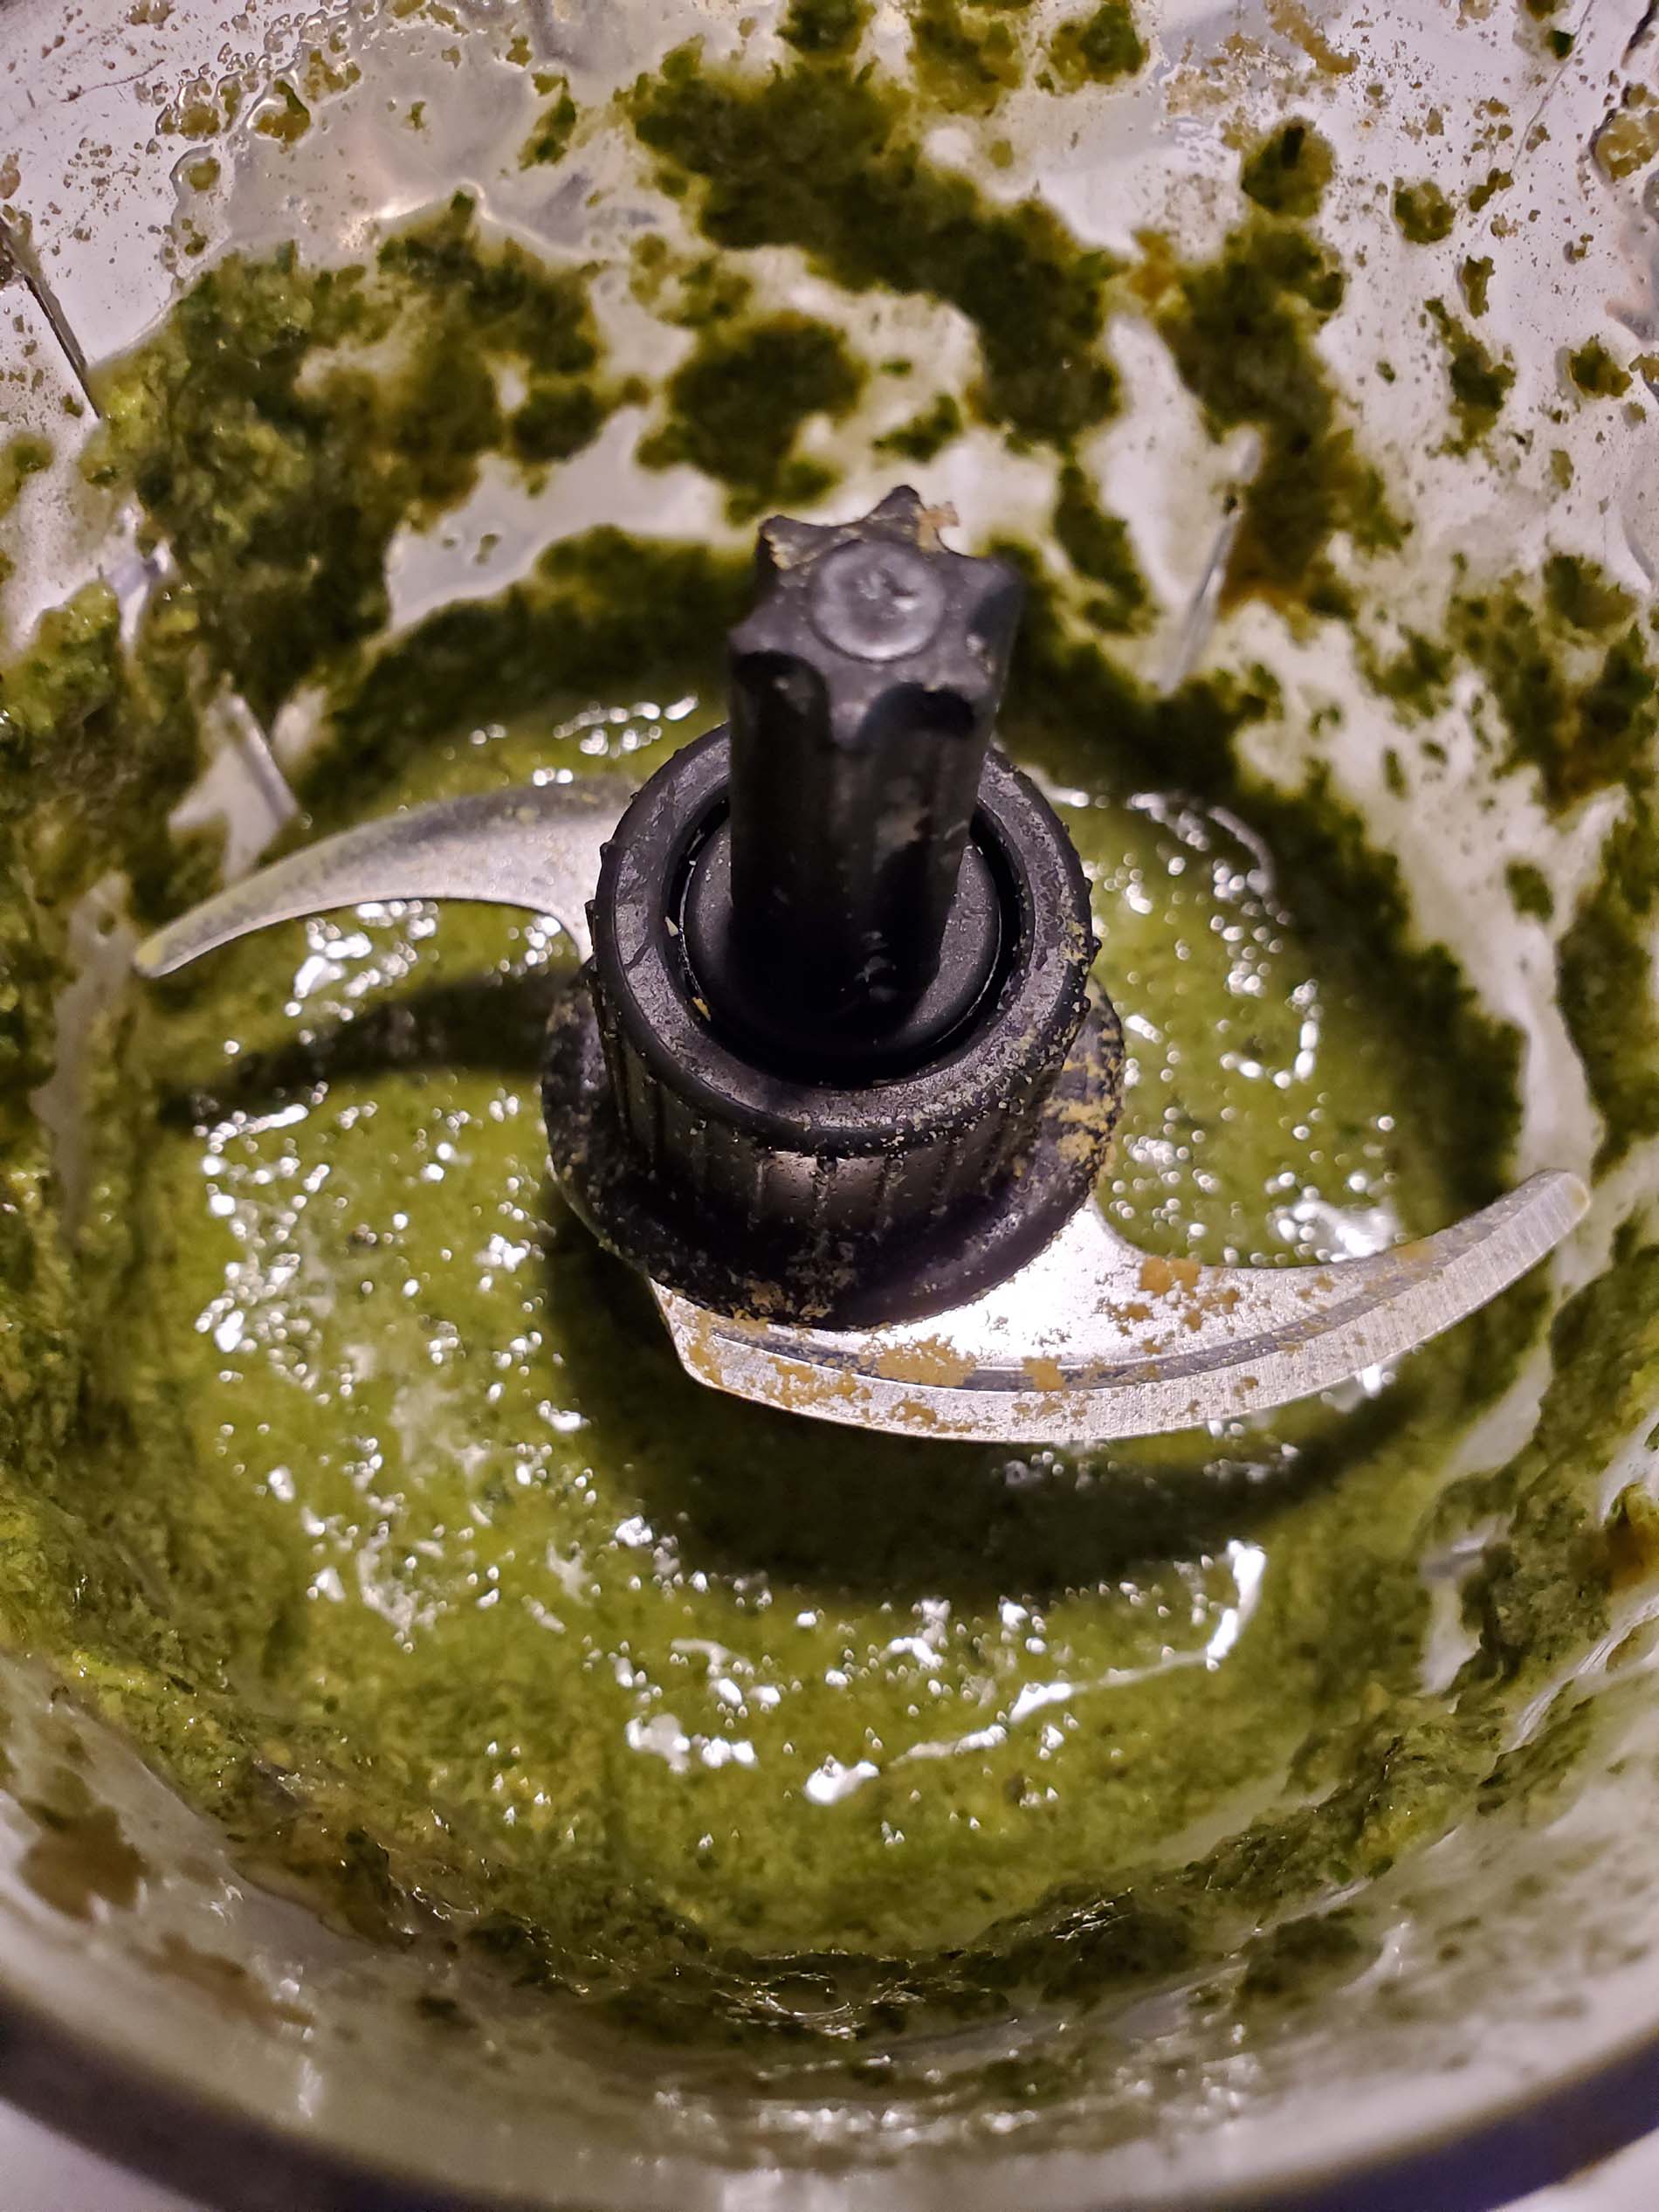
  • Then, add all the ingredients to the food processor. Blend.
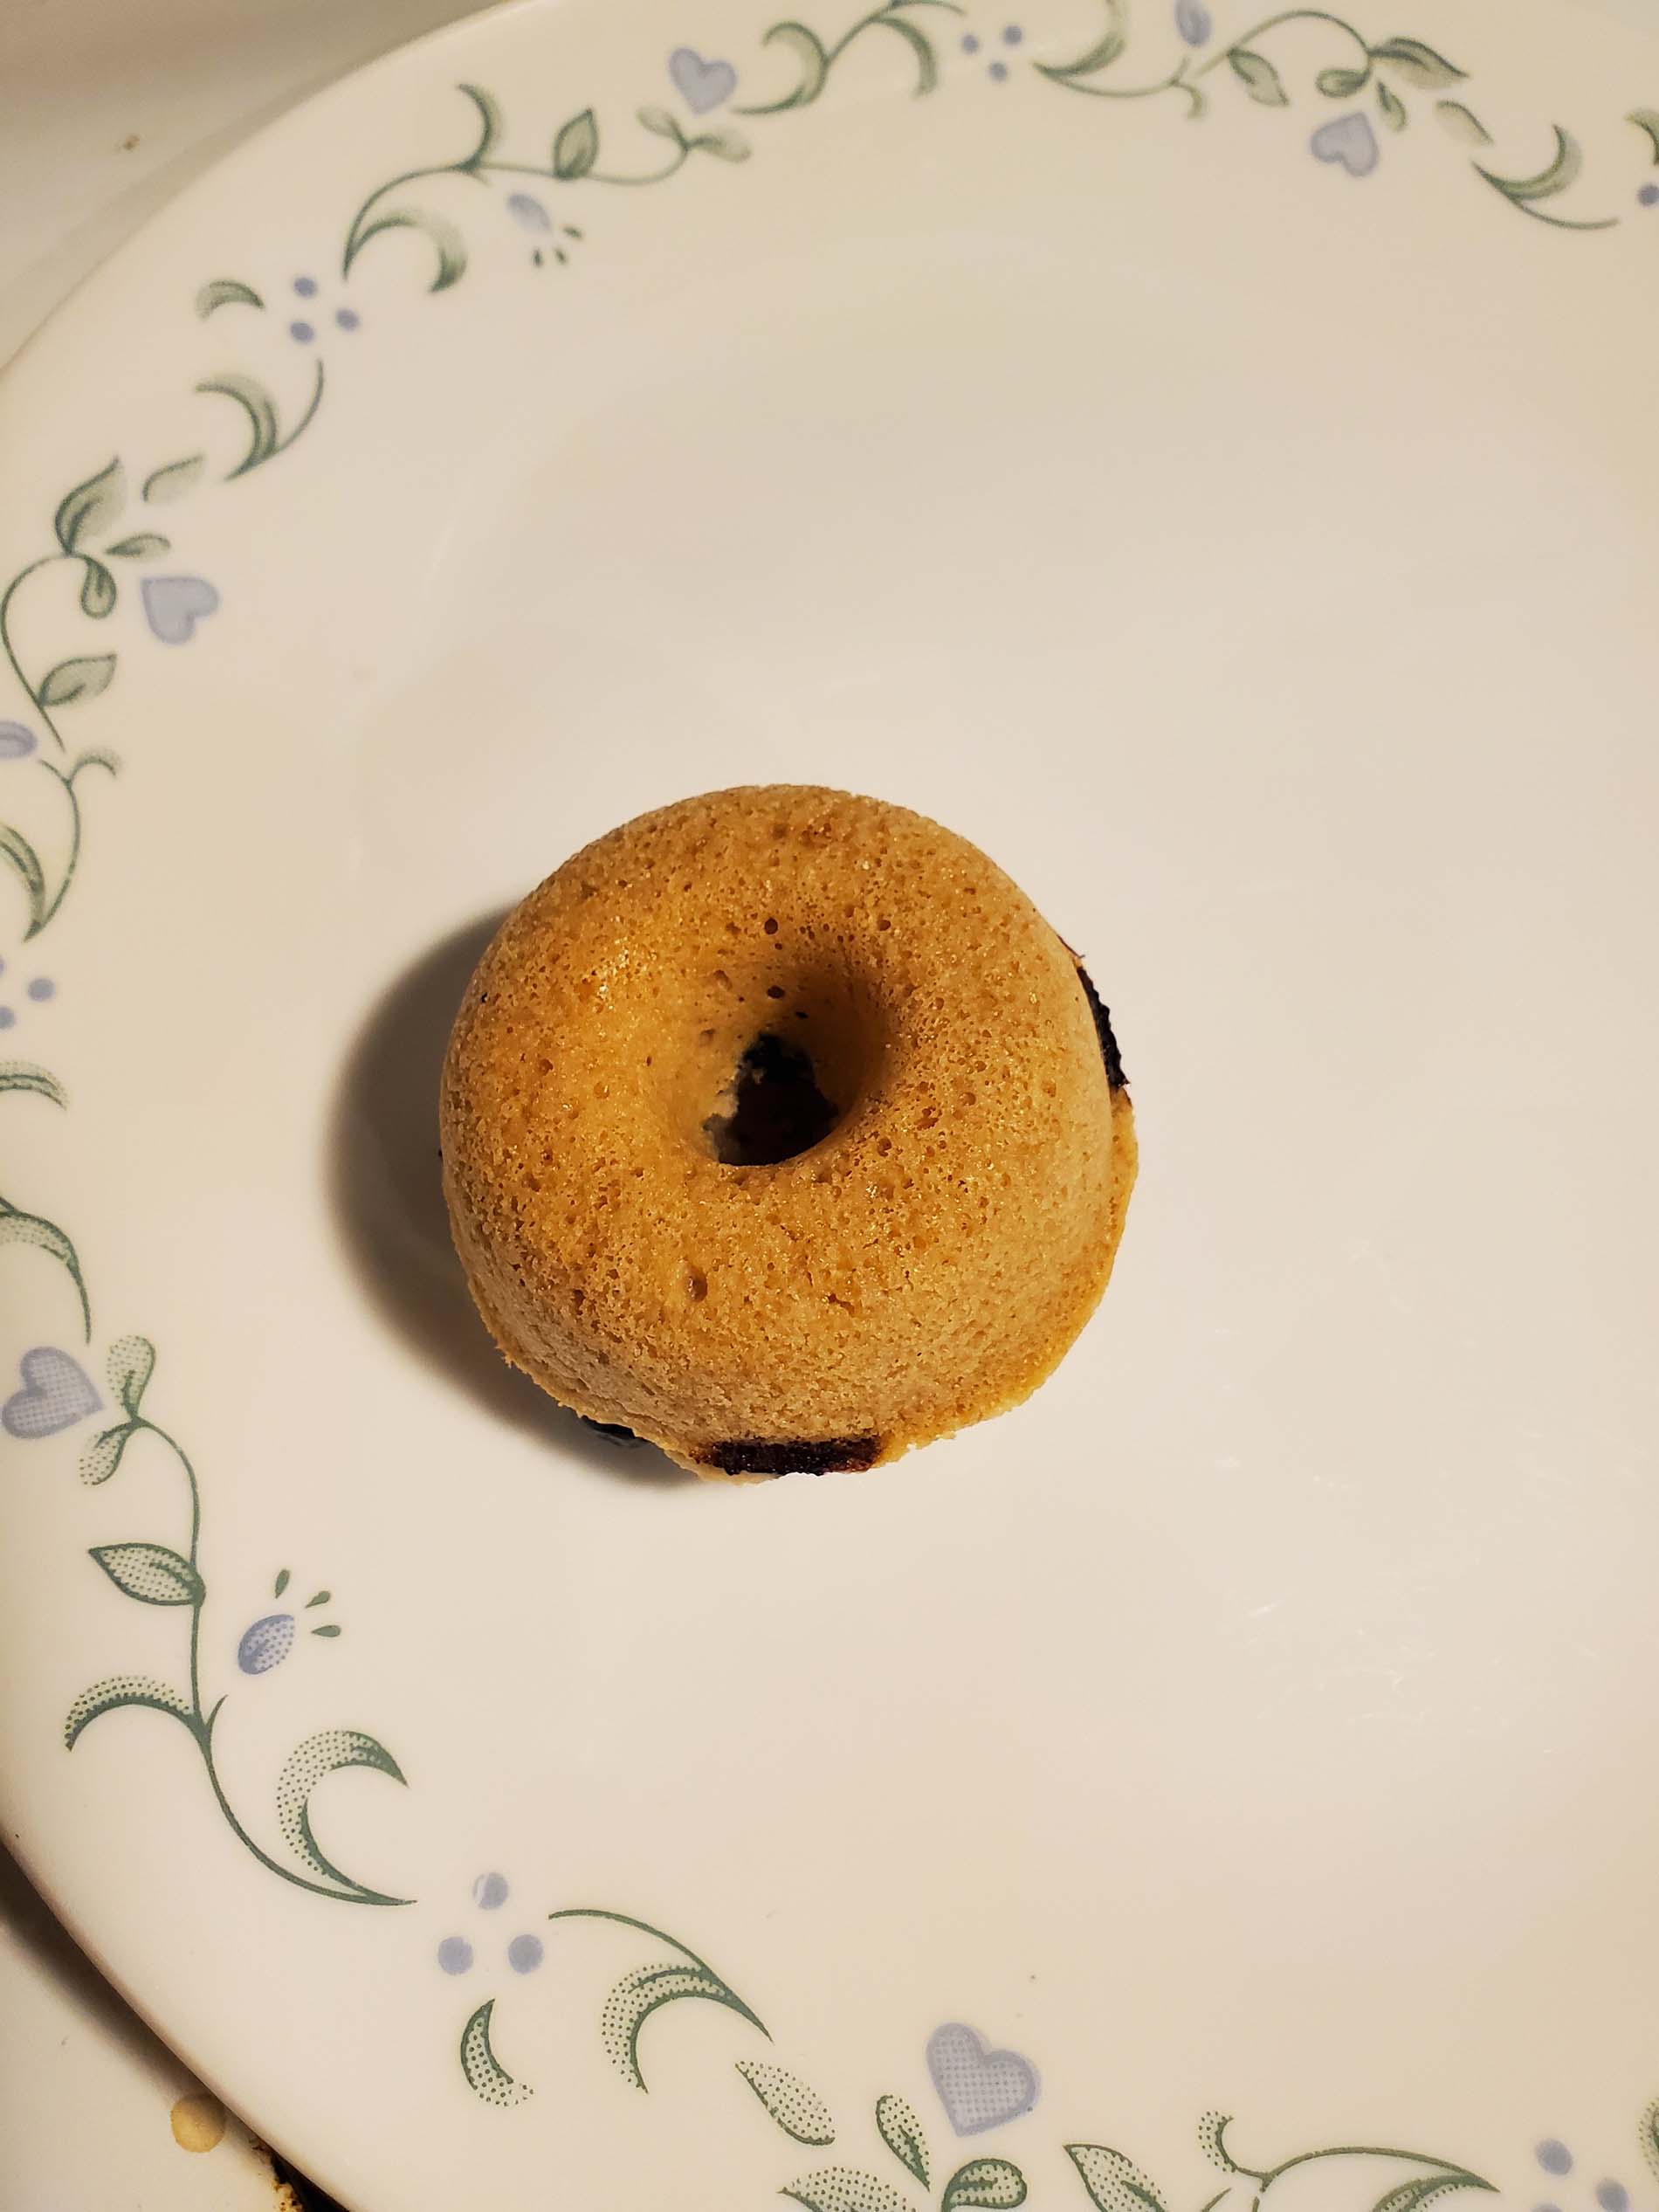
  • This makes four small ones. Secondly, press onto the mold to make sure the dough is evenly spread out. (Do leave some of the dough for the top of the pie. Also, poke holes in the dough. Bake for 15 minutes. Next, let it cool.

Nutty Pie Filling

Ingredients

  • 1 tbsp vegan butter

  • 2 large Ambrosia apples, peeled & cored

  • 2 tbsp. maple syrup

  • 1/3 cup apple juice

  • 1 tsp cornstarch

  • 1/2 tsp each (cinnamon, vanilla extract, grated lemon zest)

Directions

  • To begin, melt the butter in a saucepan.
  • Secondly, add the apples and stir. The apple should start to soften. Then, add the maple syrup and apple juice.
  • Then, add cornstarch to the mixture. Finally, add 1 tsp of cinnamon, vanilla extract, and lemon zest.
  • Finally, let the mixture cool.

Put together the Pie

Directions

  • First, take the pie crust. Hence, add the apple filling to each pie crust.
  • Moreover, cover the top with the rest of the dough.
  • Bake for 15 minutes. Following, let the pie cool.

Tips to Make Nutty Pie

In addition, it is important to purchase a food scale to weigh gluten-free flour to prevent adding too much to the recipe. Also, apple types can make a difference for example to retain shape. Therefore, some apples can get extra mushy after being cooked or too soft. Moreover, Granny Smith and Red Delicious are some of the ones that stay in shape.

Do try this delicious pie. If you enjoy homemade bake goods do try gluten-free buns. I would love to try new recipes like gluten-free chia muffin.

High Protein Chocolate Muffin

High Protein Chocolate Muffin. My daughter loves muffins. Regularly, I would make chocolate chip flavor muffins. Sometimes, I would make blueberry, strawberry, or blackberry-flavored muffins. Not only that, these muffins are high in protein mix with gluten-free oat flour. Also, the batter is moist due to the brown sugar and ripe banana.

High Protein Chocolate Muffin Recipe

High Protein Chocolate Muffin

Ingredients

  • 3/4 cup oat flour

  • 1/4 cup almond flour

  • 1/3 cup brown sugar

  • 3/4 tsp baking soda

  • 3/4 tsp baking powder

  • 1/4 tsp sea salt

  • 2 eggs

  • 6 tbsp. banana

  • 1/4 cup almond milk

  • 1 tsp vanilla extract

  • 3/4 cup non-dairy chocolate

Directions

  • First, preheat the oven to 350 degrees F. Then, line the muffin liner in the baking tray. With a large bowl, add in dry ingredients oat flour, almond flour, brown sugar, baking soda, baking powder, salt, and 1/2 cup of non-dairy chocolate chip.
  • Secondly, with a second bowl add wet ingredients egg, banana, non-dairy milk, and vanilla extract. Whisk. Thus, combine dry ingredients with wet ingredients.
  • Hence, scoop batter into muffin pan. Do try to have an equal amount in the muffin pan.
  • Finally, bake for 20 minutes until golden brown.
  • Let it cool.
High Protein Chocolate Muffin

Tips for Gluten-free Muffin

Furthermore, do make a large batch of muffin and store in the freezer for later. Not only, will this taste great, but they can also save time when you have a very busy week. Moreover, muffins do not need to be cut into slices, and worry about the thickness or thinness of the loaf. In addition, muffins can easily add toppings on tops like a crunchy texture with nuts or a crumble to make it into a dessert muffin. As well as that muffins are moist but not as challenging as a loaf of bread.

Do try this Protein Chocolate Muffin. If you enjoy homemade muffins, do try homemade cake pop. I would love to try new recipes like mini apple muffins.

Rich Chocolate Cake Pop

Rich Chocolate Cake Pop. Cakes, my children love them they want cakes during birthdays, celebrations or special occasions. Thus, they are sweet and colorful. However, you can’t have them all the time why not make cake pop they are cakes in smaller quantities. Also, they are similar to a lollipop fun and colorful. Hence, this time I want to make cake pops.

Rich Chocolate Cake Pop Recipe

Rich Chocolate Cake Pop

Ingredients<br>Base

  • 1/2 – 1 cup mashed avocado

  • 1/2 tsp cocoa powder

  • 3 tbsp. colorful sprinkles (optional)

  • 1/2 – 1 cup dark chocolate chips

  • sea salt (sprinkle)

  • Dip
  • 1/2 cup dark chocolate chips

  • 3 tbsp. non-dairy-milk

Directions

  • First, with a food processor blend avocado and sea salt.
  • With a small bowl, melt the dark chocolate in the microwave or on the stove. (warm for 15 – 30 seconds). Take a fork to mix with avocado with chocolate.
  • Secondly, store in the fridge for 30 minutes. Next, form a ball with your hand to about 1 inch in size. And then, place stick in the center.
  • Afterward, freeze for 30 minutes.
  • Following, with a small bowl add the remaking amount of the dark chocolate melt in the microwave. Then, stir in non-dairy milk.
  • Finally, remove the cake pop from the freezer and dip in the chocolate mixture. Moreover, sprinkle chocolate powder on top with sea salt. In addition, my children love sprinkle. (Store cake pop in the freezer)
Rich Chocolate Cake Pop

Cake Pop Tip

Thus, if you have a favorite cake recipe, you can use this recipe to make cake pop by cutting out round shapes or round balls to make cake pop. Then, just dip it in a chocolate dip. Also, to make perfectly round balls use a fruit scoop to form round balls. Apart from this, do use Enjoy Life brand of dark chocolate which is gluten-free, dairy-free, egg-free, and allergy-free.

Do try this fun cake pop recipe. If you enjoy homemade recipes, do try Butternut carbonara pasta. I would love to try slow cooker chicken roast and vegetable.

Homemade Strawberry Strudel

Homemade Strawberry Strudel. I have breakfast. Breakfast is always fun to have. Hence, breakfast is important to energize the body and keep the body healthy. Therefore, it is important to have a nutritious breakfast. With my children, I often make gluten-free breakfast items with dairy-free ingredients. Also, I try to make simple healthy breakfast items so I can have a lot of time with my children. This time I made homemade strawberry strudel a fun breakfast with delicious jam on the inside.

Homemade Strawberry Strudel

Ingredients

  • 2 cup brown rice flour

  • 2 tsp baking powder

  • 3/4 tsp salt

  • 6 tbsp vegan butter(soften)

  • 3/4 cup non-dairy milk

  • 1 tsp xanthan gum

Directions

  • Firstly, in a bowl mix dry ingredient flour, baking powder, salt, and xanthan gum. Stir.
  • Then, slowly pour the non-dairy milk into the dry ingredients. Next, shape the dough into a ball.
  • Secondly, roll the dough then fold. To continue this several times. Next, take a knife to split the dough in half.
  • Thus, take 1 dough and roll 7 times. Do form a rectangular shape 5″ x 6″. With a spoon, scoop strawberry filling onto the middle of the strudel, leave the edges clear.
  • Finally, fold the dough in half with a fork to crimp the edges.
  • Brush butter on the top of the strudel. Following, bake the strudel at 350 degrees F for 20 minutes.
  • When the strudel reaches 20 minutes. Let it cool.

Strudel Type

This strawberry strudel is similar to a pop tart but healthier with less sugar. For a healthier option, can add fresh sliced strawberry inside or strawberry jam for the filling. Furthermore, the sliced strawberry makes it refreshing. Also, the chopped strawberry gives a delicate texture. Not only that, sift the flour before mixing the dry ingredients with wet ingredients to give a smoother texture.

If you enjoy this strudel receipe, do try different ones like homemade sandwich loaf. I would love to try new recipes like kid simple lunch ideas.

Hamburger Gluten-free Bun and Patty

Hamburger Gluten-free Bun and Patty. My children do enjoy a juicy burger. I do love homemade baked goods; they do taste very good. Also, the feeling of accomplishment of being able to succeed in making a delicious homemade burger. Thus, the bun is soft and light. Hence, the patty is flavorful.

Hamburger Bun Recipe

Hamburger Gluten-free

Ingredients

  • 2 1/2 cup shredded mozzarella cheese or marble cheese

  • 3 oz cream cheese

  • 1 1/2 cup almond flour

  • 2 tsp baking powder

  • 2 eggs

  • 1 tbsp sesame seed

Directions

  • First, preheat the oven to 400 degrees. In a medium-size bowl, add shredded marble cheese to cream cheese in the microwave. Stir until combine.
  • Next, whisk in almond flour and baking powder.
  • Furthermore, apply oil on hand to mix the dough and stop the stickiness. (The dough will very sticky)
  • On the baking tray, add lined parchment paper. And, split the dough into 6 parts and roll it into balls. Sprinkle sesame seed on top.
  • Moreover, bake the bun at 400 degrees for 14 minutes until golden brown.

Patty Seasoning

Hamburger Gluten-free

Ingredients

  • 1 pound of ground beef

  • 1 large egg

  • 2 tbsp non-dairy milk

  • 1 tsp garlic powder

  • 1/2 tsp black pepper

  • 1/2 cup gluten-free bread crumbs

  • 2 tbsp Worcestershire

  • 1 tsp salt

  • 1 tsp onion powder

Directions

  • In a bowl, combine ground beef, gluten-free bread crumb, egg, Worcestershire, non-dairy milk, salt, garlic powder, onion powder, and pepper.
  • With hands, mix the ingredients and form a ball and flatten. Next, cook the patty on the grill.
  • This can be frozen by placing two parchments in between the patty to prevent from sticking. Do store in a freezer Ziploc bag.

Baking Tips

When baking gluten-free baked goods, do not bake with a glass container instead use a metal loaf pan because this is better to retain heat. Hence, do place parchment paper on top of the baking tray and brush with oil. Not only does this give the baked goods a nicer appearance, but this will also make easier removal. Also, to ensure the gluten-free bun is baked through, do use a thermometer to check the temperature on the inside of the bun.

Do try this Hamburger Gluten-free Bun and Patty. If you enjoy homemade products, do try homemade waffle. I would love to try new recipes like vegan vegetable stuffing.

Soft Sandwich Bread

Soft Sandwich Bread. I love making and eating sandwiches. Moreover, my children love bread especially the soft fluffy ones. Hence, who can resist the aroma of freshly rice flour, tapioca flour, and sorghum flour? First, do try a simple gluten-free recipe with little ingredients. Also, do rely on a scale to measure flour. Furthermore, do consider using more liquid because gluten-free bread tends to be is drier.

Soft Sandwich Bread

Soft Sandwich Bread

Ingredients

  • 2 1/4 cup tapioca flour

  • 3/4 cup brown rice flour

  • 3/4 cup sorghum flour

  • 1 tbsp. xanthan gum

  • 1 tsp whole flax seed

  • 1 tsp salt

  • 1 tbsp. active yeast

  • 1 1/4 cup warm milk (110 degrees F)

  • 3 eggs room temperature

  • 1/4 cup olive oil

  • 2 tbsp. honey

  • 1/2 tsp chia seed

  • Topping
  • 1 tsp whole flax seed

  • 1 tbsp. sunflower seed

  • 1/2 tsp sesame seed

Directions

  • First, in a large bowl mix all dry ingredients. Whisk. Set aside.
  • With another bowl, add in egg, chia seed, olive oil, and honey. Then, with a small bowl of warm milk to 110 degrees F add yeast. Let it sit for 10 minutes until it froths. Hence, combine the egg mixture with the yeast mixture.
  • Moreover, mix the dry ingredients with wet ingredients.
  • And, scoop the batter into the loaf pan with parchment paper. Following, with a spatula evenly spread the batter. Last but not least sprinkle flour, sunflower, and sesame on top of the loaf. Subsequently, press the toppings down.
  • Apart from this, for proofing cover the loaf pan with a warm towel. Then, turn on the oven at 200 degrees F for 30 seconds and turn off the oven. Thus, place the loaf pan in the oven for 1 hour but check when the time reaches 45 minutes.
  • Finally, preheat the oven at 350 degrees F for 35 minutes and cover with aluminum foil to prevent the surface from browning too fast. When the time reaches 35 minutes, remove foil and bake for another 20 minutes.
  • Enjoy
Soft Sandwich Bread
Soft Sandwich Bread
Soft Sandwich Bread

About the Flour

To conclude, three gluten-free flour has been used in this bread recipe. First, sorghum flour is a mild flour. This is best for pastries and cakes. Also, good for more sweet and savory baked goods. Thus, brown rice flour is made from brown rice. Additionally, brown rice flour is mild and has a nutty flavor. Therefore, brown rice flour is best for pancake, muffin, and gluten-free bread. Finally, tapioca flour makes bake a good chewy, light, and crispy texture. Therefore, it is good it learns about the flour use for gluten-free recipes.

Do try this Soft Sandwich Bread. If you enjoy baked goods, do try gluten-free donut. I would love to try new recipes like flourless brownie.

Flavorful Cauliflower Casserole

Flavorful Cauliflower Casserole. Also, a gluten-free dish fantastic for those who are sensitive to gluten. Not only that this is a dish that contains a large number of vegetables, cauliflower. Furthermore, if you get bored of stir fry vegetables, you are looking for a fun delicious vegetable dishes cauliflower casserole would be one of them. Moreover, this dish contains high protein for children. Cauliflower casserole contains lots of cheesy goodness.

Flavorful Cauliflower Casserole Recipe

Flavorful Cauliflower Casserole

Ingredients:

1 Cauliflower

1 1/4 cup non-dairy milk

4tbsp vegan butter(melted)

1/2 tsp salt

1/8 tsp pepper

1/4 tsp garlic salt

1/2 tsp onion powder

2 cup shredded non-dairy white cheddar

1/2 cup vegan shredded mozzarella cheese

1/2 cup gluten-free bread crumbs

Instructions:

  1. Preheat the oven to 350 degrees F. On the stove, cook the cauliflower until softened. Then, place in a baking dish.
  2. Following, in a medium-size bowl beat the eggs and add melted butter. Whisk. Moreover, add seasoning, pepper, garlic salt, salt, and onion powder to the egg mixture. Stir.
  3. Pour the liquid mixture all over the cauliflower. Not only add non-dairy shredded white cheddar and mozzarella all over the cauliflower dish.
  4. Finally, evenly spread the gluten-free bread crumbs all over the top.
  5. Bake at 350 degrees F for 30 minutes until golden brown on the top.
  6. Enjoy.

Vegetable Ideas

Hence, cauliflower is a wonderful vegetable to add to dishes. This vegetable is a filling vegetable that can be used a bowl of rice or cauliflower rice. Certainly, do choose to mash cauliflower instead of using potatoes to make mash potatoes. Also, instead of using regular pasta noodles substitute them for a cauliflower mac and cheese dish. Or, if tired of regular vegetables why not a cauliflower leek soup.

Do try Flavorful Cauliflower Casserole. If you enjoy baked goods, do try creamy vegetable soup. I would love to try new recipes like Bundt cake.

Easy Aromatic Pizza Crust

Easy Aromatic Pizza Crust. Moreover, this gluten-free pizza uses only a few ingredients almond flour, seasoning, vegan butter, and eggs. Not only that, I use dairy-free cheese for the topping. Also, the combination of dried Italian seasoning and garlic powder is a wonderful smell. Furthermore, this recipe makes one large pizza, which does not leave a lot of leftovers. Or, do double the portion to make two large pizzas.

Easy Aromatic Pizza Crust Recipe

Easy Aromatic Pizza Crust

Ingredients

  • 2 1/2 cup almond flour

  • 1/2 tsp garlic powder

  • 1/4 cup vegan butter

  • 2 tsp dried Italian seasoning

  • 1/2 tsp salt

  • 2 eggs large (beaten)

Directions

  • To begin, preheat the oven to 400 degrees F. Then, line with parchment paper on the pizza pan or brush oil pan.
  • With a large bowl, mix in flour, Italian seasoning, garlic powder, and salt. Next, add in egg and butter.
  • Following then scoop, the batter into the baking pan, press the dough against the pan.
  • Last but not the least, bake at 400 degrees F for 10 – 14 minutes.
  • Let the crust cool.
  • Topping
  • Take a spoon and spread the tomato sauce all over the crust except leave the edges.
  • And then, sprinkle basil on top of the tomato sauce.
  • In addition, slice the ham. Next, chop the pineapples into chunks. Further, sprinkle non-dairy cheese all over. Bake 10 – 15 minutes.
  • Enjoy
Easy Aromatic Pizza Crust

Tips to use Almond Flour

Almond flour can be used in many ways. Also, this flour makes dishes low in carbohydrates and very good for anyone sensitive to gluten. Again, this makes for a high protein diet. Moreover, for pastry do use blanched almond flour is finer in texture. Hence, almond flour can be thicker. Nevertheless, almond flour cannot replace gluten-free all-purpose flour in a recipe by just substituting it in a recipe. As a result, it would need to be tested before using to replace the ingredients in the recipe. Using almond flour, do not press down while measuring the flour. Thus, scoop the flour and level with a butter knife.

Do try this aromatic pizza. If you enjoy homemade goods, do try homemade blackberry juice. I would love to try new gluten-free bread recipes like an Artisan loaf.

Fluffy Gluten-free Buns

Fluffy Gluten-free Buns. Unfortunately, I do struggle making soft gluten-free loaf. Therefore, gluten-free buns would be a little easier. Also, the portion size is smallar. If they don’t turn out well, there would not be a large amount I would need to finish. Thus, these buns are very soft. And they are like tray buns so the size are perfect for children. Not only that, the buns are soft due to the almond flour and coconut flour. And, they do not contain yeast. Furthermore, the buns contain low carbohydrate.

Fluffy Gluten-free Buns Recipe

Fluffy Gluten-free Buns

Ingredients

  • 3 egg white (room temperature)

  • 1 egg medium size (room temperature)

  • 1/4 cup hot water

  • 1/4 cup almond flour

  • 1/4 cup coconut flour

  • 1 tbsp psyllium husk

  • 1 tsp baking powder

  • Topping
  • Sprinkle Sesame seed

  • Sprinkle sea salt

Directions

  • First, preheat oven to 350 degrees F. Then, in a medium-size bowl combine dry ingredients psyllium husk, coconut flour, almond flour, and baking powder.
  • Following in another bowl, mix egg white, one whole egg and hot water. Whisk.
  • Furthermore, mix dry ingredients with wet ingredients. Let it sit for 1 – 2 minutes (this is more affective for psyllium husk).
  • Additionally, separate dough to four parts.
  • With a baking tray line with parchment paper, then form a ball and sprinkle sea salt and seaseme on top.
  • Moreover, cover with warm slightly wet towel and place over try. Morever, start the proofing process by preheating oven to 200 degrees F for 30 seconds and turn off oven. Allow the bun to rise for 30 minute to one hour. Once done.
  • Finally, preheat the oven to 350 degrees F and place a larger tray with water under the baking tray with the bun. Next, bake for 25 minutes.
  • Last but not least, remove from the oven and let it cool.
Fluffy Gluten-free Buns

Tips for making Gluten-free Fluffy Bun

To make delicious fluffy bread, they can be extremely tricky. For instance, it is important for bread not to be dry. Hence, do not forget oil and eggs, which adds great taste and makes the bread soft. For this reason, do try mayonnaise in the recipe or an oil like olive oil. With gluten-free, certainly beneficial for the ingredients to be in room temperature. The rising process would have more success. For this reason, do leave the ingredients out half an hour to one hour before using for baking. To have more success with the rise of the bread, do add water with bubbles.

Do try fluffy buns. If you enjoy homemade recipe, do try very chocolatey muffin. Also, I would love to try new homemade gluten-free, dairy-free, or egg-free recipes like mini carrot cupcake.

Oat Bite-Size Snack

Oat Bite-Size Snack. Besides, my children snack monster. Besides, they love to snack. Therefore, small bite-sized snacks are perfect for them. Also, these bite-sized snacks are healthy and good for you. Furthermore, another word is energy balls. Not only this, these snacks are high in protein. Moreover, it boosts energy with lots of good nutrients.

Oat Bite-Size Snack Recipe

Oat Bite-Size Snack

Ingredients:

1 cup gluten-free quick oat

1 1/2 cup peanut butter

1/2 cup dark chocolate chip

3 tbsp honey

Instructions:

  1. First, take a medium-size bowl, combine quick oat, peanut butter, chocolate chip, and honey. Then, store in the fridge for 30 minutes.
  2. Finally, roll into a small ball. Can sprinkle chopped walnut on top.
Oat Bite-Size Snack

Small Snacks

Why bite-sized snacks. As well as that, these treats are like a dessert. Additionally, they are a great after-dinner treat. These contain a low amount of sugar. Also, they are made with natural ingredients. Not only that, they are high in energy and are versatile. They can be made from various combinations. For example, pumpkin spice, chai latte, and apple pie.

Do try this snack bites. If you enjoy snack bites, do try very chocolatey muffin. I would love to try new recipes like vegan yogurt parfait.

Very Chocolatey Muffin

Very Chocolatey Muffin. Besides, I do not prefer something too heavy in the morning for breakfast. Therefore, the nut butter gives the muffin a good balance with the dark chocolate chip. Without a doubt, the nut butter makes the muffin a higher protein content. Moreover, this is good for growing children.

Very Chocolatey Muffin

Ingredients:

3 bananas

1 tbsp honey

1 3/4 almond flour

1/3 tsp baking powder

1/2 tsp cinnamon

1/3 cup nut butter

3 eggs

1 tsp vanilla extract

1 tsp baking soda

pinch of salt

1 cup dark chocolate chip

Instructions:

  1. Firstly preheat the oven to 350 degrees with a muffin pan, place muffin liner.
  2. Then, in a medium-size bowl combine egg, honey, and vanilla extract.
  3. Secondly, continue by adding flour, baking powder, baking soda, salt, cinnamon, and nut butter. Whisk together.
  4. Thus, add in the mashed bananas. Stir.
  5. Finally, fold in the chocolate chips. Hence, scoop into the muffin pan and bake for 25 – 30 minutes.
  6. Remove from the oven and let it cool.

High Protein

Furthermore, high protein is important to prevent craving and help the body to feel full. To make baked goods high in protein, do choose to use brown rice, nut flour, or oat flour. Last but not least, when making pancake batter mix in blended pumpkin seed for more protein and calcium. Everyone should try a high protein diet for a healthier you.

If you enjoy a very chocolatey muffin, do try a gluten-free blueberry donut. I would love to try new recipes like peanut butter oat cookies.

Vegan High Protein Broccoli Soup

Vegan High Protein Broccoli Soup. As well as that my family always has weekly soup. Therefore, when I grew up with soup to help strengthen the body. Amazingly, soup can have many purposes to build immunity or stay hydrated from the winter weather. Without a doubt, if adding bone broth is even better for the body besides having the added calcium.

Vegan High Protein Broccoli Soup

Vegan High Protein Broccoli Soup

Ingredients:

1 tbsp coconut oil

4 clove of garlic

1 cup coconut milk

1/2 cup nutritional yeast

1 1/2 cup dried onion

3 1/2 cup vegetable broth

1 cup raw cashew(soaked)

6 cup broccoli

salt and pepper

Instructions:

  1. Firstly with a large bowl or small pot, combine the broth, coconut milk, cashew nut, nutritional yeast, salt, and pepper. Pour the content into the food processor. Let it blend.
  2. Secondly, with a soup pot, add sauté garlic and onion. Once the onion has softened. Set aside.
  3. Thirdly, pan-fry the broccoli until they are soft.
  4. Next, take the coconut milk mixture and combine it with onion, garlic, and broccoli.
  5. Let it simmer. The soup should be ready in an hour.
Vegan High Protein Broccoli Soup

High Protein Soup

Tip to make high protein soup by adding blended nuts. Or, another option do thicken the soup by adding beans. Also, for a tastier soup does sear the soup content before using the ingredient to simmer. Another important tip, do flavor as you cook. Therefore, this adds stronger flavor.

Do try Vegan High Protein Broccoli Soup, if you enjoy this soup do try pesto sauce for multiple dishes. I would love to try new recipes like cauliflower fried rice.

Pesto Sauce for Multiple Dishes

Pesto Sauce for Multiple Dishes. Hence, I had a dish at a restaurant, which I enjoy. Thus, a pesto penne chicken pasta dish. Therefore, the dish was very creamy. Also, I enjoy the aroma of the basil herb. When I wash basil, I can smell the aroma. Thus, the herb is quite frequent a very enjoyable one.

Pesto Sauce for Multiple Dishes Recipe

Pesto Sauce for Multiple Dishes

Ingredients:

2 cup basil

1/2 cup olive oil

3 clove of garlic

1/3 cup nutritional yeast

1/4 tsp salt

1/2 tsp lemon juice

Instructions:

  1. Firstly, soak and wash the basil.
  2. Then, in a food processor combine basil, garlic, nutritional yeast, salt and blend with a food processor.
  3. Finally, mix by adding the rest of the olive oil.
  4. And then, store in the fridge. Or, you can pour it into an ice cube tray to be used for later.
Pesto Sauce for Multiple Dishes

Why Have Basil

Furthermore, basil is used by many other cultures for example Mediterranean, Italian, and Vietnamese. Furthermore, this herb can be used for colds and inflammation. Not only this, basil contains Calcium and Vitamin K. Also, to increase basil intake, basil can be placed on the pizza. Or, it can be added to a tomato dish. Apart from this, do cut into small pieces to be added to a salad.

Do try this Pesto Sauce for Multiple Dishes. If

Do try Pesto sauce for multiple dishes. If you enjoy homemade dishes, do try butternuts squash carbonara. Also, I would love to try new dishes like the vegan filet no fish recipe.

High Protein French Toast

High Protein French Toast. In particular, a high protein breakfast for young children. Besides, a breakfast high in protein helps to develop healthy muscle. As well as that, high protein helps to burn calories and control sugar levels. Therefore, children need to have a high protein diet.

High Protein French Toast Recipe

High Protein French Toast

Ingredient:

1 gluten-free loaf

1/2 cup brown sugar

1/4 cup vegan butter

6 eggs

1 1/2 tsp vanilla extract

powder sugar for topping

1 cup non-dairy milk

cinnamon for topping

Instructions:

  1. First, in a medium-size bowl mix melted vegan butter and brown sugar. Next, add in eggs, non-dairy milk, and vanilla extract. Mix.
  2. Turn on the stove and add oil, then dip the toast in the egg mixture and place on the pan. Let the toast cook for 5 – 10 minutes. And then, flip the toast. The toast should be golden brown.
  3. Finally, use up all the toast and egg mixture.
  4. Last but not least, serve with powder sugar and maple syrup.
  5. Enjoy.
High Protein French Toast

French Toast Topping

Ways to elevate French toast can add various toppings on top to brighten or elevate the taste. Moreover, can make a homemade syrup with berries like a strawberry syrup topping with whip cream. If you enjoy a salty and sweet flavor, and crunchy peanut butter on top. And then, add a strawberry on top of the peanut butter. Therefore, it would be French toast Pb and j. Or, make a French toast sandwich by adding a crispy chicken patty with mayonnaise.

Do try High Protein French Toast. If you enjoy baked goods, do try dishes like flavorful chocolate chip cookies. I would love to try new dishes like vegetarian dishes like vegetarian noodles.

Blueberry Gluten-free Donut

Blueberry Gluten-free Donut. When my children want a treat they always ask for a donut. Therefore, I want something less sugary and light. Something with a healthier option, since sugar is not the best for the body. As well as that, sugar is not the best for their teeth either.

Blueberry Gluten-free Donut

Blueberry Gluten-free Donut

Ingredients:

I cup almond flour

1 cup blueberries

2 eggs

1/4 cup coconut oil

1 tsp baking soda

1 cup tapioca flour

3 tbsp lemon juice

2 tbsp maple syrup

1 tsp vanilla extract

pinch of salt

Instructions:

  1. Start by preheating the oven to 350 degrees F, take a donut baking tray and brush with oil.
  2. At this time, in a large bowl mix in almond flour, tapioca flour, baking soda, and salt.
  3. Furthermore, take another medium-size bowl mix in maple syrup, coconut oil, lemon juice, and vanilla extract.
  4. Last but not the least, do combine the dry ingredients with wet ingredients. Following, scoop batter in the donut tray.
  5. Finally, bake for 18 to 20 minutes. To remove from the donut tray and flip the donut. Let it cool.
Blueberry Gluten-free Donut

Dress the Donut

Moreover, there are many ways to make the donut tastier or more appealing. As well as that, a homemade blueberry glaze with cooked blueberry and powdered sugar. Or, a simple melted dark chocolate glaze to be applied on the top of the donut. Nevertheless, enjoy the donut without any glaze and just truly take the simple donut.

Do try Blueberry Gluten-free Donut. If you enjoy baked goods, do try chia pudding. I would love to try new recipes like baked apple oatmeal.

Creamy Dairy-Free Vegetable Soup

Creamy Dairy-Free Vegetable Soup. Besides, there are times where I find challenging to have a large amount of vegetable each days in our diet. Therefore, vegetable soups are one of the best ways to add a lot of the vegetables. Without a doubt, puree vegetable soup with bone broth helps to build immunity.

Creamy Dairy-Free Vegetable Soup Recipe

Creamy Dairy-Free Vegetable Soup

Ingredients:

3 leek stalks

4 strip of bacon

1 cup frozen corn

3 tbsp olive oil

3 clove garlic (minced)

4 medium potato (peel and diced)

2 medium carrots (peeled and diced)

4 cup bone broth

1 tsp oregano

1/2 tsp kosher salt

1/2 cup non-dairy milk

season with black pepper

Instructions:

  1. First, in the toaster oven crisp the bacon.
  2. Secondly, soak and wash the leek. Then, cut the leek dice shapes. Following, turn on the stove and add oil. Besides, sauté garlic and add the leek. Then, the corn. The vegetable should cook until soften.
  3. Thirdly, once the vegetable have soften add the potatoes and carrots.
  4. Moreover, add the bone broth. Stir. Let the soup simmer.
  5. Above all, do puree the soup.
  6. Next season with salt and pepper.
  7. Finally, stir in non-dairy milk. Season with oregano. Then, add in salt and pepper.
  8. Serve with couton.
Creamy Dairy-Free Vegetable Soup

Tip to Make Creamy Soup

If you enjoy creamy soup, there are many options. Do try using canned coconut milk or cream for a creamier option. Or, do try using blended nuts such as soaked cashew nuts. Nut mix will add more protein to your diet if you are looking for high protein and a low carbohydrate diet. Another option, a gluten-free simple option is to use cornstarch to thicken the soup.

Do try this Creamy dairy-free vegetable soup. If you enjoy homemade dishes, do try Homemade chocolate chip cookies. I would love to try new recipes like gluten-free cake pop.